
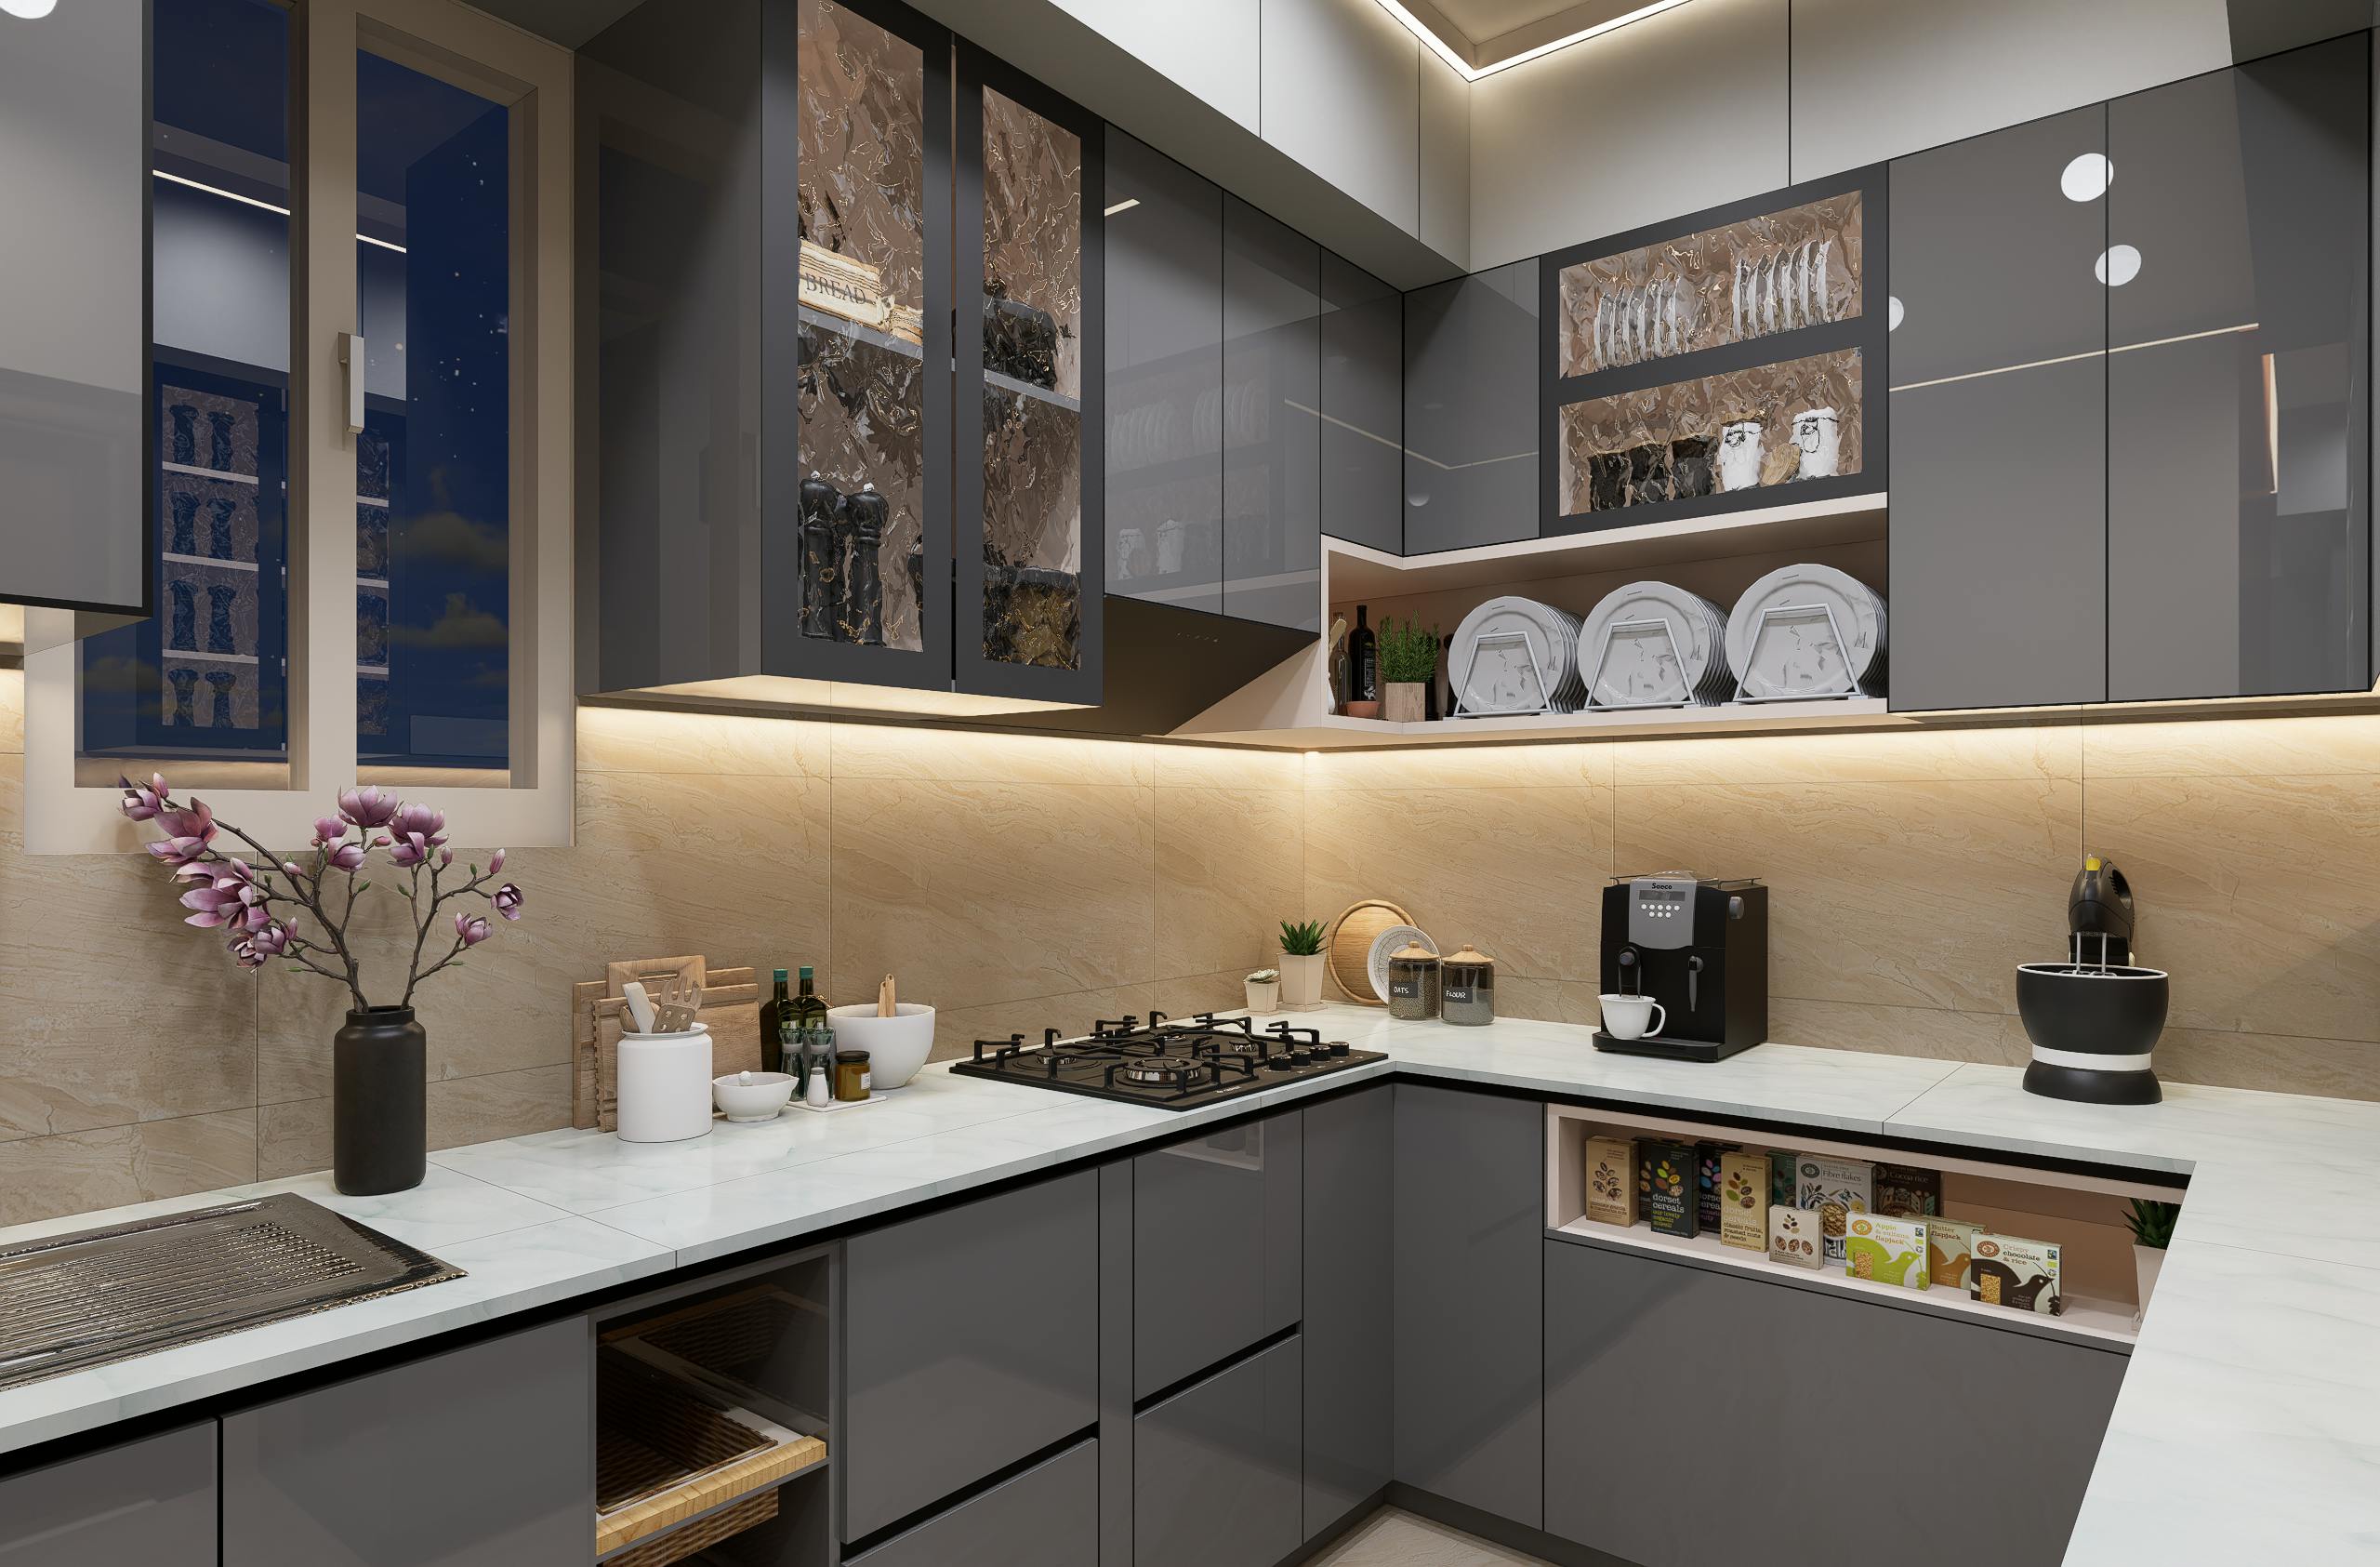
Renter-Friendly Backsplash: 5 Stunning Ideas That Peel Off Easily
A renter-friendly backsplash shouldn’t look temporary—it should look intentional. Your kitchen came with the apartment: standard white walls, basic laminate counters, and compliance-driven surfaces. But you don't have to live with a generic space. The right removable backsplash—from zellige-effect tile and honed marble to deep matte slate—turns a sterile rental kitchen into something curated and unmistakably yours, all without damaging the wall or risking your deposit. It's part of a bigger shift too: see our guide to apartment living for more ways to make a rented space feel like your own.
What Makes a Backsplash Renter-Friendly?
Not every "removable" product on the market actually behaves that way once it's on a wall for months. A genuinely renter-friendly backsplash needs to satisfy a short but non-negotiable list of criteria — and it's worth knowing them before you fall for a style.
- Fully removable: designed to come off without professional tools or a repaint
- No permanent adhesive: repositionable or low-tack backing, not construction adhesive
- Compatible with common rental wall surfaces: painted drywall, existing tile, or laminate
- Rated for the moisture level of your kitchen — splashback zones see more than a decorative wall
- Clear heat limitations from the manufacturer, especially near a stove
- Documented removal process — the brand should tell you how it comes off, not just how it goes on
Most style guides jump straight to "5 pretty options." We'd rather you know what's underneath a good choice first — then use the styles below as a shortlist, not a shopping list.
As Apartment Therapy has noted, texture-rich surfaces consistently rank among the most effective renter-friendly upgrades — precisely because they change the feel of a kitchen, not just its surface color. Architectural Digest has also documented the growing demand for deposit-safe kitchen upgrades as the materials available have caught up with renter expectations. If you want to see how real renters weigh these trade-offs, the discussion on r/ApartmentHacks is a useful, unfiltered read.
Before You Install a Renter-Friendly Backsplash
A few minutes of preparation is what separates a backsplash that looks intentional from one that peels at the corners by month three.
Check Your Lease
Some leases explicitly restrict adhesive products on walls, even removable ones. A two-minute read avoids a conversation with your landlord later.
Test a Small, Hidden Area First
Apply a single panel or swatch somewhere inconspicuous — inside a cabinet door, behind an appliance — and leave it for 48 hours. This tells you how the adhesive reacts with your specific wall before you commit to the full run.
Inspect the Wall Surface
Peeling paint, uneven texture, or existing damage will telegraph through a peel-and-stick panel and can also prevent proper adhesion. Surfaces should be clean, dry, and structurally sound.
Measure the Backsplash Area
Get an accurate square footage before ordering — see the FAQ below for a simple way to calculate how many packs you'll need.
Check Heat and Moisture Exposure
Placement behind a stove or in a high-splash zone around a sink calls for a product explicitly rated for that use. Not every attractive option is rated for both.
5 Renter-Friendly Backsplash Styles
Once the essentials above are covered, style becomes the fun part. Here's how the five most popular renter-friendly formats compare before we walk through each one.
| Style | Best For | Typical Removability | Moisture Rating | Aesthetic |
|---|---|---|---|---|
| Zellige-effect tile | White/cream cabinetry, Mediterranean or Japandi kitchens | Usually removable | Varies by product | Handcrafted, textural |
| Honed marble/travertine | Neutral kitchens, brass or matte-black hardware | Usually removable | Varies by product | Classic, architectural |
| Matte slate | White shaker cabinets, industrial-modern loft kitchens | Usually removable | Varies by product | Moody, high contrast |
| Wood-grain slats | Natural-material kitchens, Scandinavian and Japandi spaces | Depends on product | Often limited | Organic, warm |
| Limewash/plaster-effect | Warm neutral palettes, Mediterranean or rustic-modern kitchens | Usually removable | Varies by product | Hand-finished, quiet |
Ratings vary by manufacturer — always confirm removability, moisture, and heat specifications on the product page before buying.
Zellige-Effect Tile — The Artisan Choice
Zellige tile has become the defining material of warm minimalism, and for good reason. Its irregular surface, subtle tonal shifts, and handcrafted imperfection offer something mass-produced tile rarely does: soul. A well-made zellige-effect adhesive panel replicates that texture with real fidelity — matte finish, soft light diffusion, and a surface that reads as both ancient and contemporary. Brands like Art3D and TileEasy make ceramic-based options with genuine tactile weight, which is what separates them from the plasticky sheen of cheaper alternatives.
Best for: White or cream cabinetry, warm-toned kitchens, Japandi and Mediterranean-influenced interiors.
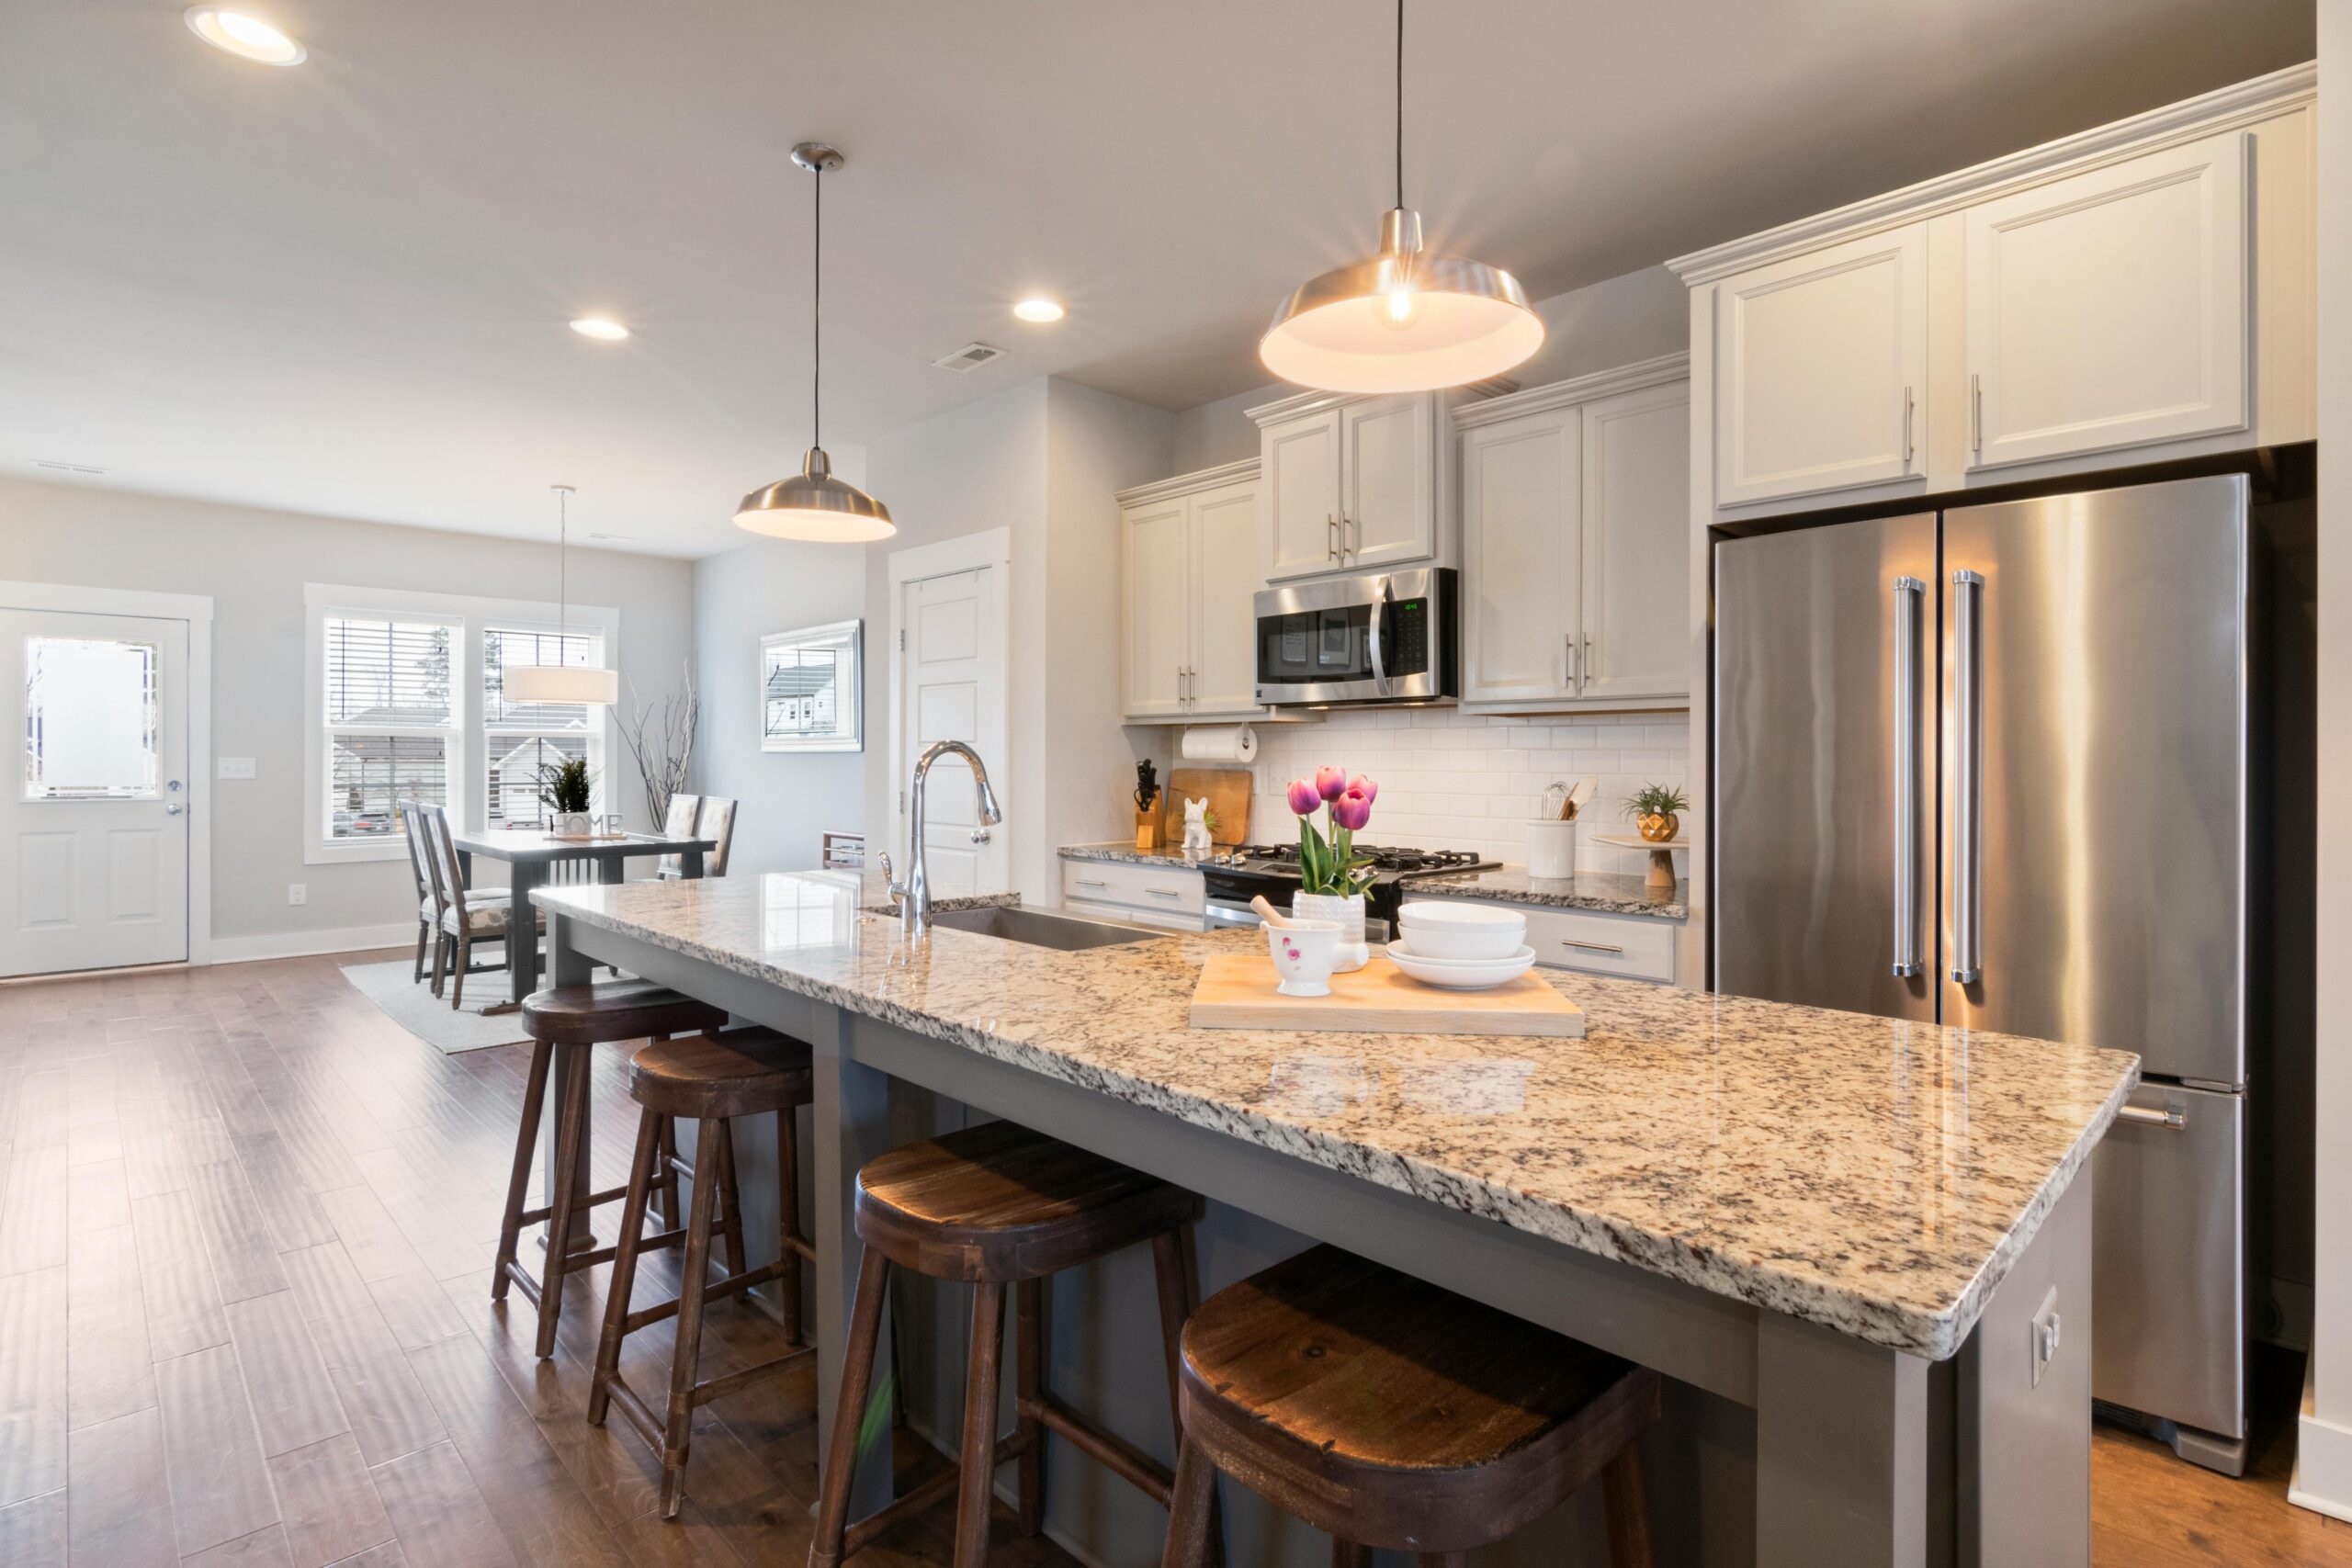
Removable Marble & Travertine — Timeless, Low Risk
Marble in a rental kitchen sounds like a liability. In removable form, it becomes a statement of confidence — as long as the finish is right. High-gloss marble-effect stickers tend to announce themselves as temporary. Honed or matte finishes, by contrast, mimic the worn, lived-in quality of natural stone. They absorb light rather than reflecting it aggressively, creating a backdrop that reads as substantial and architectural rather than adhesive.
Best for: Neutral kitchens, brass or matte black hardware, transitional and classic interiors.
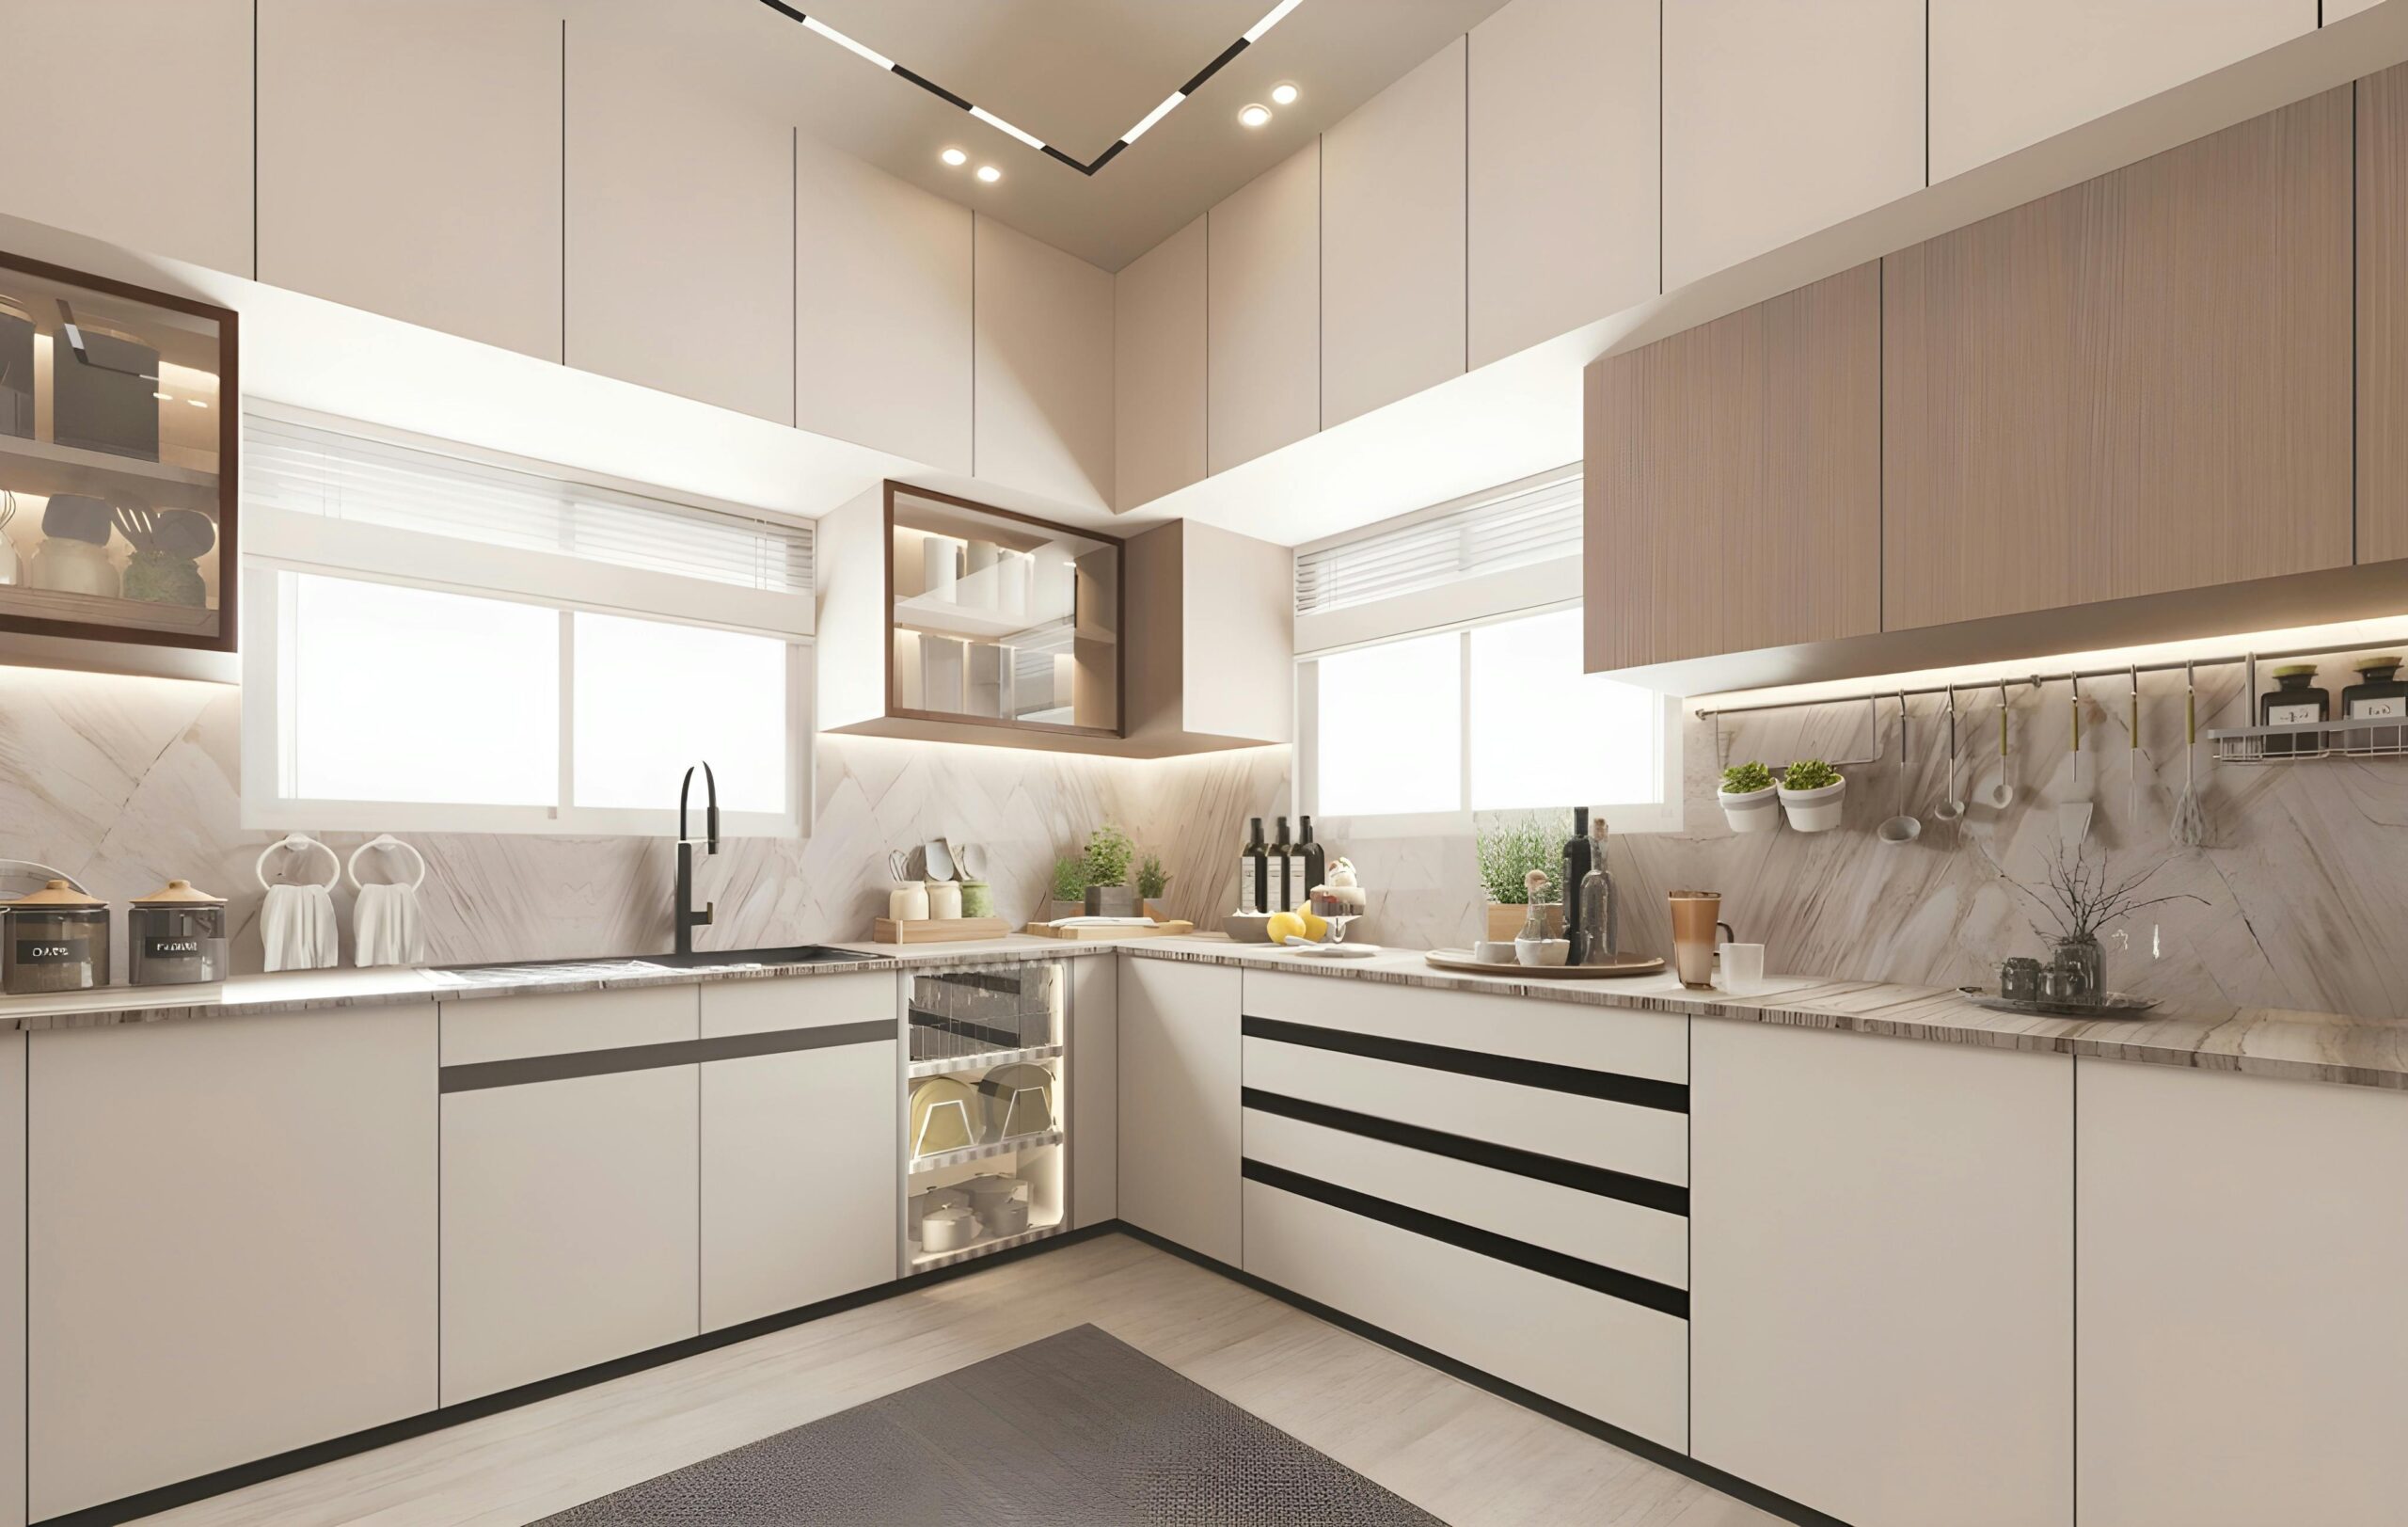
Matte Slate — Moody Industrial Luxury
For kitchens that lean toward the darker, more editorial end of minimalism, matte slate is the answer. It creates immediate contrast against light cabinetry, functioning as a visual anchor that makes everything around it feel more considered. Soapstone-effect alternatives offer the same weight in slightly warmer tones — deep gray with green or brown undertones that keep the look from reading as cold. Both finishes are fundamentally about depth: the sense that the wall has dimension, not just color.
Best for: White shaker cabinets, stainless steel appliances, urban loft and industrial-modern kitchens.
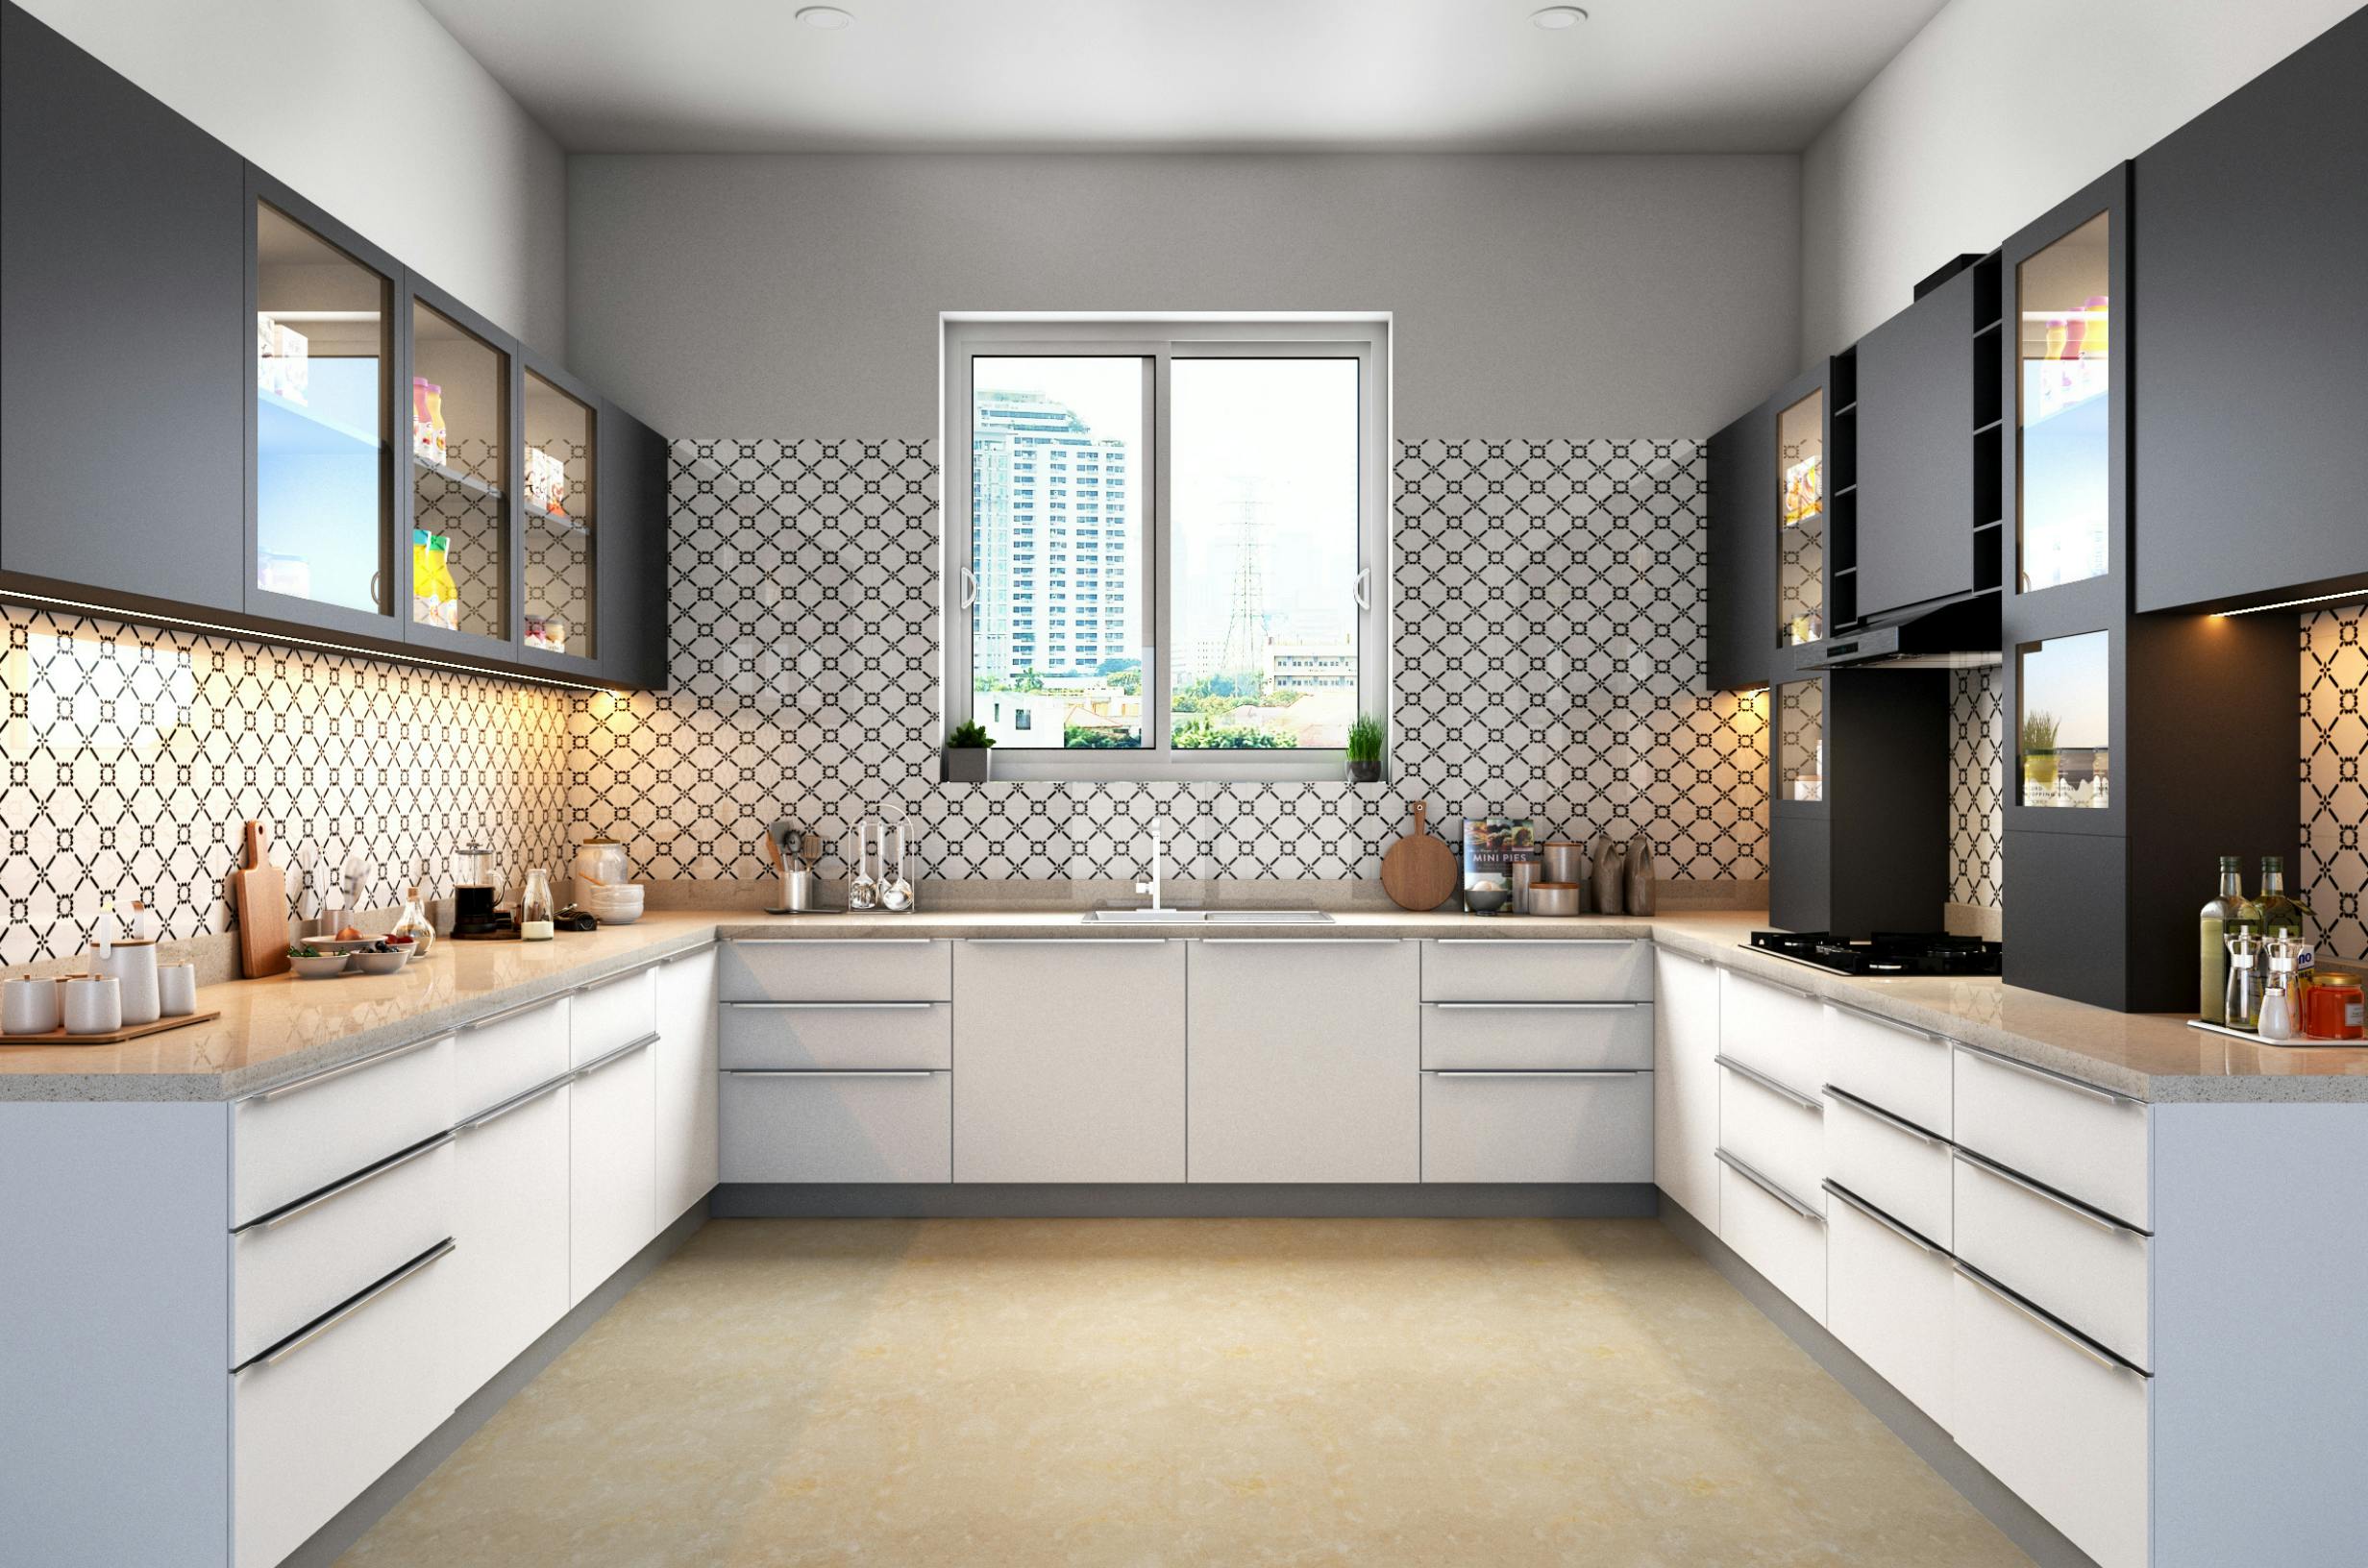
Wood-Grain Slats — Organic Warmth, Japandi Precision
The Japandi movement has made wood slats one of the most recognizable signatures of contemporary minimalist design. Applied vertically, this style serves a dual purpose: introducing organic warmth while creating the visual illusion of height in rooms with standard ceilings. Genuine wood-veneer adhesive panels — such as those from Stikwood — carry real timber texture and grain variation, and respond to light differently across the day in a way ceramic or stone alternatives can't replicate.
Best for: Natural-material kitchens, warm oak or walnut cabinetry, Scandinavian and Japandi-influenced spaces.
Apply wood slat panels vertically and extend them slightly above the standard backsplash zone — toward the base of the upper cabinets — to maximize the height-enhancing effect.
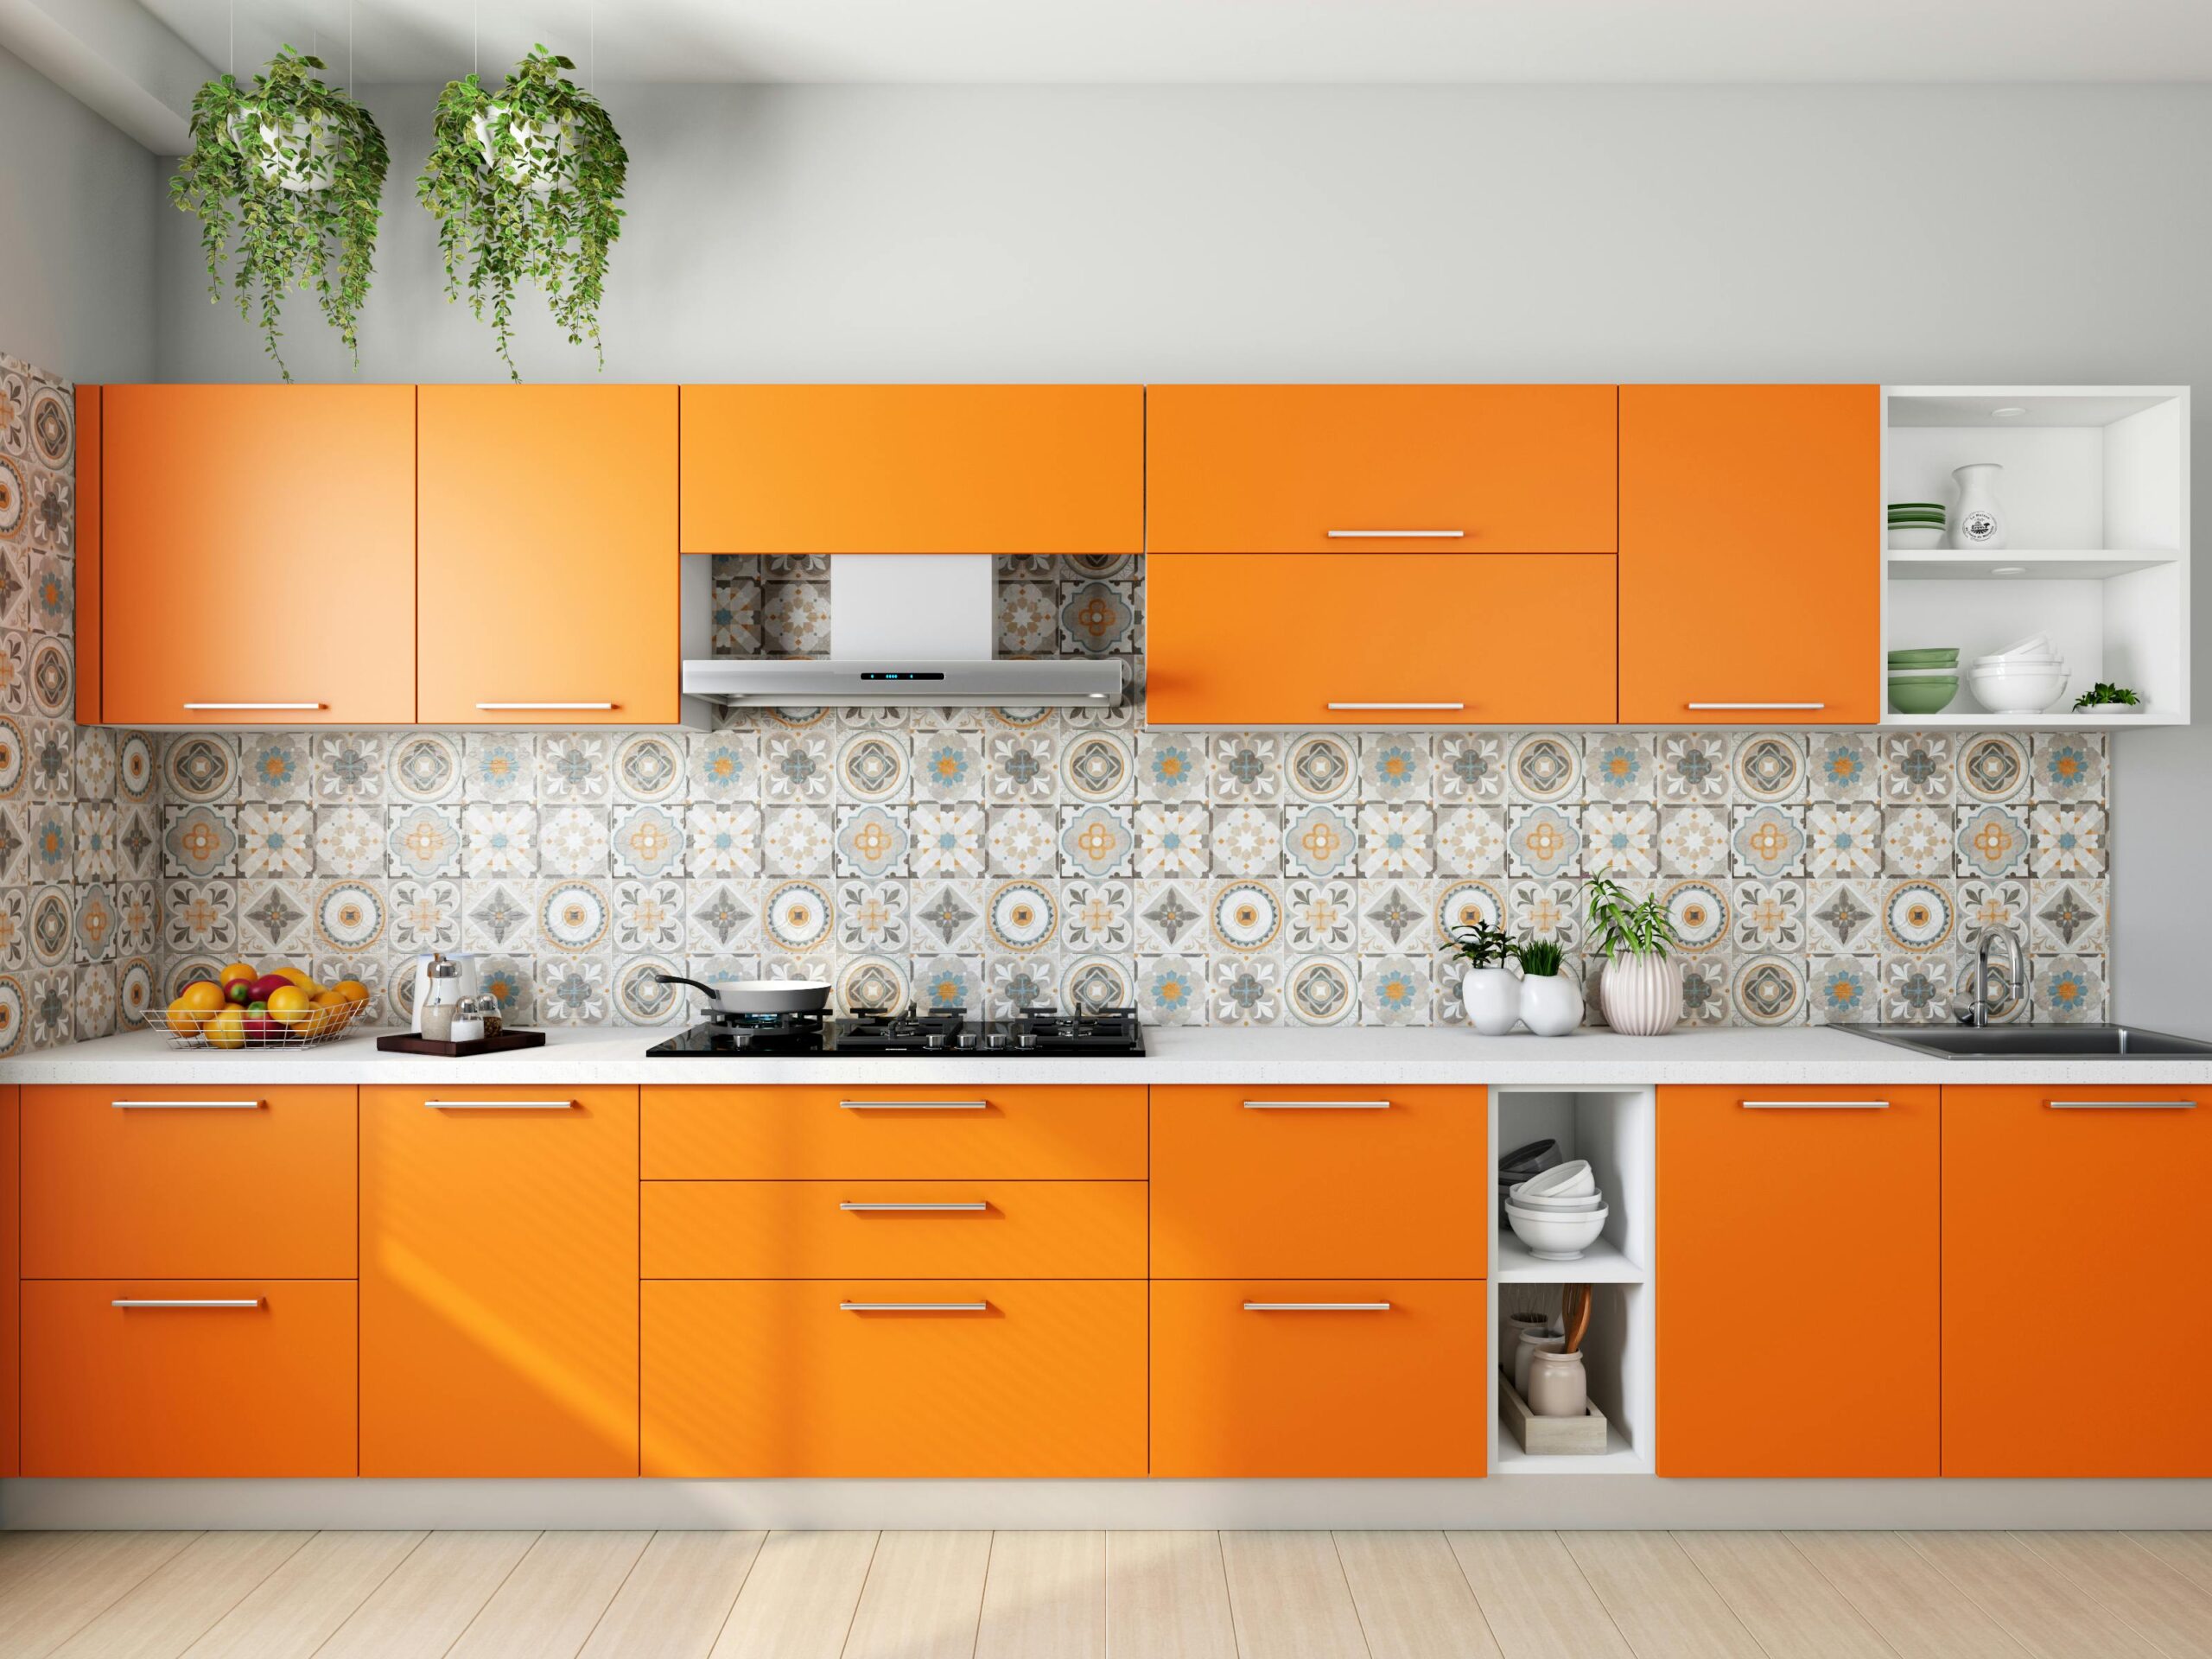
Limewash & Plaster-Effect — Imperfection as a Design Virtue
Limewash finishes evoke centuries-old Mediterranean walls — surfaces worn, layered, and beautiful for it. As a renter-friendly backsplash, limewash-effect panels offer something rare in modern interiors: the kind of imperfection that rewards attention rather than demanding it. The subtle tonal variation and soft striations of a quality limewash panel create a surface that reads as hand-finished. Unlike the graphic impact of marble or slate, this texture works quietly — deepening the character of a space without competing with anything in it.
Best for: Warm neutral palettes, plaster-effect interiors, Mediterranean, rustic modern, and soft contemporary kitchens.
How to Install a Peel-and-Stick Backsplash in a Rental Kitchen
The difference between a renter-friendly backsplash that looks temporary and one that looks architectural comes down almost entirely to installation discipline. Four steps determine the outcome.
Surface Preparation
Clean the wall thoroughly — not just dust, but grease, cooking residue, and any trace of old adhesive. Use a degreaser first, then wipe down with rubbing alcohol and let it dry completely. Contamination beneath the panel compromises adhesion and creates visible bubbling over time.
Laser-Level Alignment
Skip visual estimation. Use a laser level to establish your starting horizontal line before placing a single panel. Work outward from the center of the installation zone — symmetry is what distinguishes a professional finish from a DIY one.
The Grout-Line Illusion
Leave a consistent gap between panels — typically 1/16 to 1/8 inch — and fill it with a thin bead of color-matched silicone caulk. Applied cleanly, this creates a convincing grout line that anchors the installation in architectural reality.
Edge Finishing
Where panels meet cabinets, countertops, or wall edges, apply a thin bead of clear silicone caulk along the seam. This limits moisture ingress and gives the installation a finished appearance.
Apply firm, even pressure across the entire panel surface after placement — not just the edges. A rubber roller (widely available, under $10) eliminates micro-bubbles and ensures full adhesive contact with the wall.
How to Remove a Renter-Friendly Backsplash Without Damaging the Wall
A well-chosen renter-friendly backsplash should leave minimal trace once it's gone. Follow this protocol closely and the wall should come back close to how you found it.
- Heat Application First Never pull cold adhesive from drywall. Use a hairdryer on high heat — or a heat gun on its lowest setting — and move it slowly and evenly across each panel before attempting removal. The adhesive typically softens within 30–60 seconds of sustained heat. Start peeling from a corner, keeping the angle low and the pace slow.
- Residue Removal Remaining adhesive usually responds well to citrus-based solvents (Goo Gone is widely available and effective). Apply, let it sit for two minutes, then wipe clean with a soft cloth. Repeat as needed. Avoid petroleum-based products, which can stain porous drywall.
- Final Wall Inspection After cleaning, inspect the wall under raking light (hold a flashlight at an angle). If any minor surface texture has been disturbed, light sanding followed by a touch-up coat of matching paint usually restores the wall. Photographing the restored wall before you move out is good practice for protecting your security deposit.
Frequently Asked Questions
Usually, yes — provided the existing surface is clean, smooth, and free of grease. Deep grout lines should be filled with spackle, allowed to cure fully, and sanded flat before applying panels. Skipping this step can telegraph indentations through the finished surface.
Heat resistance varies significantly by product, so always check the manufacturer's rating before installing behind or near a stove — and follow the clearance distance the product specifies rather than a generic rule of thumb.
Measure your backsplash zone in square feet, then add 10–15% for cuts and alignment waste. Most standard rental kitchens require between 15–25 square feet of coverage. Each 12″×12″ tile covers one square foot — calculate accordingly and order a small surplus.
Correct removal — heat first, then a slow, low-angle peel — is designed to leave drywall undamaged, but the outcome depends on wall condition, the specific product, and how carefully it's removed. Rushing the process or pulling panels cold raises the risk.
Art3D, Smart Tiles, and Stikwood are consistently well-reviewed choices. Art3D leans into zellige and limewash-effect designs, Smart Tiles is known for waterproofing and heat resistance, and Stikwood is the strongest option for genuine wood veneer. Always confirm current specifications directly with the manufacturer before buying.

4 Comments
Comments are closed.